Showing posts with label Stickles. Show all posts

Friday, November 17, 2017

Home Tweet Home with ADORNit

Happy Friday my crafty friends!  The holidays are upon us and for how many of you do holiday baking?  I love baking, especially for the holidays and so does my oldest daughter.  I'm sharing a baking themed layout made with ADORNit's Home Tweet  Home collection today.


I combined an assortment of a papers, journaling card and stickers to create the page.  


I included the fun banners of "You're So Tweet" and "Birds of a Feather", the perfect phrases for the moment captured on camera of the little baker.


A little bit of hand journaling and some pretty Stickles to add some shine to the page made for a simple but cute layout.  Visit ADORNit.com and check out this cute Home Tweet Home collection.  

Have a fabulous day!


Thursday, January 21, 2016

Paper Weave card tutorial with Basic Grey Sun Kissed

Ok, so when's the last time you may have done paper weaving?  I'm up on the FotoBella blog with my latest design team project and tutorial on how to make a card, weaving paper.  The collection featured is Basic Grey Sun Kissed from Fotobella.com.  


You can make this too!  Visit FotoBella.com for your Basic Grey Sun Kissed supplies and follow this tutorial.


Paper:  Cadence, Wildflower, Droplet, Wingspan; Title Sticker Sheet, Die Cuts, Black & White Card Stock
Tools: 
·       Dark Brown Ink
·       Scissors
·       Ruler
·       Stickles
·       Adhesive
·       Scallop Circle Punch 2 ½”
·       Circle punch 2 ¼” 


1.  Cut strips of paper approx. ¼” wide by 12” long.


2.  Cut the 12” strips in half so that they measure 6”.   


3.  For the base of the card, cut a piece of white cardstock so it measures 8” wide and 12” long. 


4.  Fold the card stock in half so that the face of the card measures 4” wide and 6” long. 


5.  Line up the strips of paper vertically along the face of the card in the pattern that you like.


6.  Holding the bottom of the strips with one hand begin weaving the first strip along the top, horizontally.  The weaving is done by going under one strip and then over the next, repeating the pattern across the strips of paper, until the end.


7.  The second strip should be woven in the opposite pattern than the first strip (ie:  over, under, over under..)  Once the first couple horizontal strips are woven in, place a ruler to hold the top while weaving in the rest of the paper strips.       


8.  Continue weaving the paper all the way to the bottom of the card, adjusting the spacing and alternating paper patterns along the way. 


9.  Based on the spacing I had 8 vertical strips of paper and 13 horizontal strips.  This will vary based on how tight you space and weave the paper.  The goal is to cover the whole face of the card. 


10.  Flip over the weaved paper and apply glue back and forth across the rows of paper.       


11.  Adhere the weaved paper to the front of the card. Line it up so all the edges line up with the base of the card, The horizontal strips will hang over on both sides and need to be trimmed down.    


12.  Flip the card over and cleanly trim off the excess paper strips, using scissors and following the edge of the white cardstock.   


13.  Once the edges are trimmed this is what the front of the card should look like.    


14.  Go around the edges and glue down any strips that are loose.  You want everything completely glued down to the card base.   


15.  Punch a 2 1/2” scallop circle out of black card  stock and a 2 ¼” circle out of white card stock.                                     


16.  Layer the white circle on top of the black scallop.  Place the pink vellum die cut on top of the white card stock. 


17.  What it should look like with all the shapes layered.


18.  Select the Triangle Sticker from the Title StickerSheet with the sentiment “U Are Simply Wonderful” and layer on to the white cardstock. 


19.  Using Black Diamond and Silver stickles, embellish the die cut and the scallop circle.


And drumroll please....


Have a fabulous day!  


Wednesday, August 19, 2015

Layout Techniques with Basic Grey Barista

Trying new stuff is what crafters do, it's how we thrive.  I've got a tutorial on FotoBella's blog today featuring several techniques using Basic Grey Barista I Want It All Bundle.  


If you like layering, stamping, doodling or Stickles, this is the tutorial for you. 


Get yourself the Barista Bundle from Fotobella.com, stamping ink, a pen, and some glitter glue and head over to the blog to follow the tutorial.


Have a fabulous day!


Saturday, May 2, 2015

Lots of layers Bo Bunny Carnival layout

Do you love seeing a lot fun layers in a layout?  If so, this is the layout for you!  Get the Bo Bunny Carnival I Want It All Bundle and head over to Fotobella's blog to see the full tutorial on how to make this layout.  


I didn't hold back when it came to using a lot of patterns and layers.  


**This has a lot pieces to layer, but I promise you this layering is worth it!


I journaled around the circles and traced the blue lines with Stickles.  


Poolside foam thickers were used for my daughter's nickname "Kiki".  


And here is the final result of all of that hard work of layering and stickling away.  


Supplies Needed:  "Calliope" paper, Ephemera pack, Chipboard Stickers, "Funhouse" paper, yellow polka dot ribbon, Red & Blue Stickles, Cardboard, White card stock, 4x6 photo, Big Bite, Paper Trimmer, Scissors, Adhesive, Blue Pen for journaling, Poolside foam Thickers for Title.  


Don't be afraid to use a lot of pattern paper and layers, it really does result in a great look.  Love this layout?  Love this collection?  Bo Bunny Carnival is at FotoBella.com and treat yourself to the "I Want It All" bundle.  Because we all deserve to have it all sometimes :)

Have a fabulous day!


Tuesday, April 28, 2015

Graphic 45 Precious Memories Pillow Box Tutorial

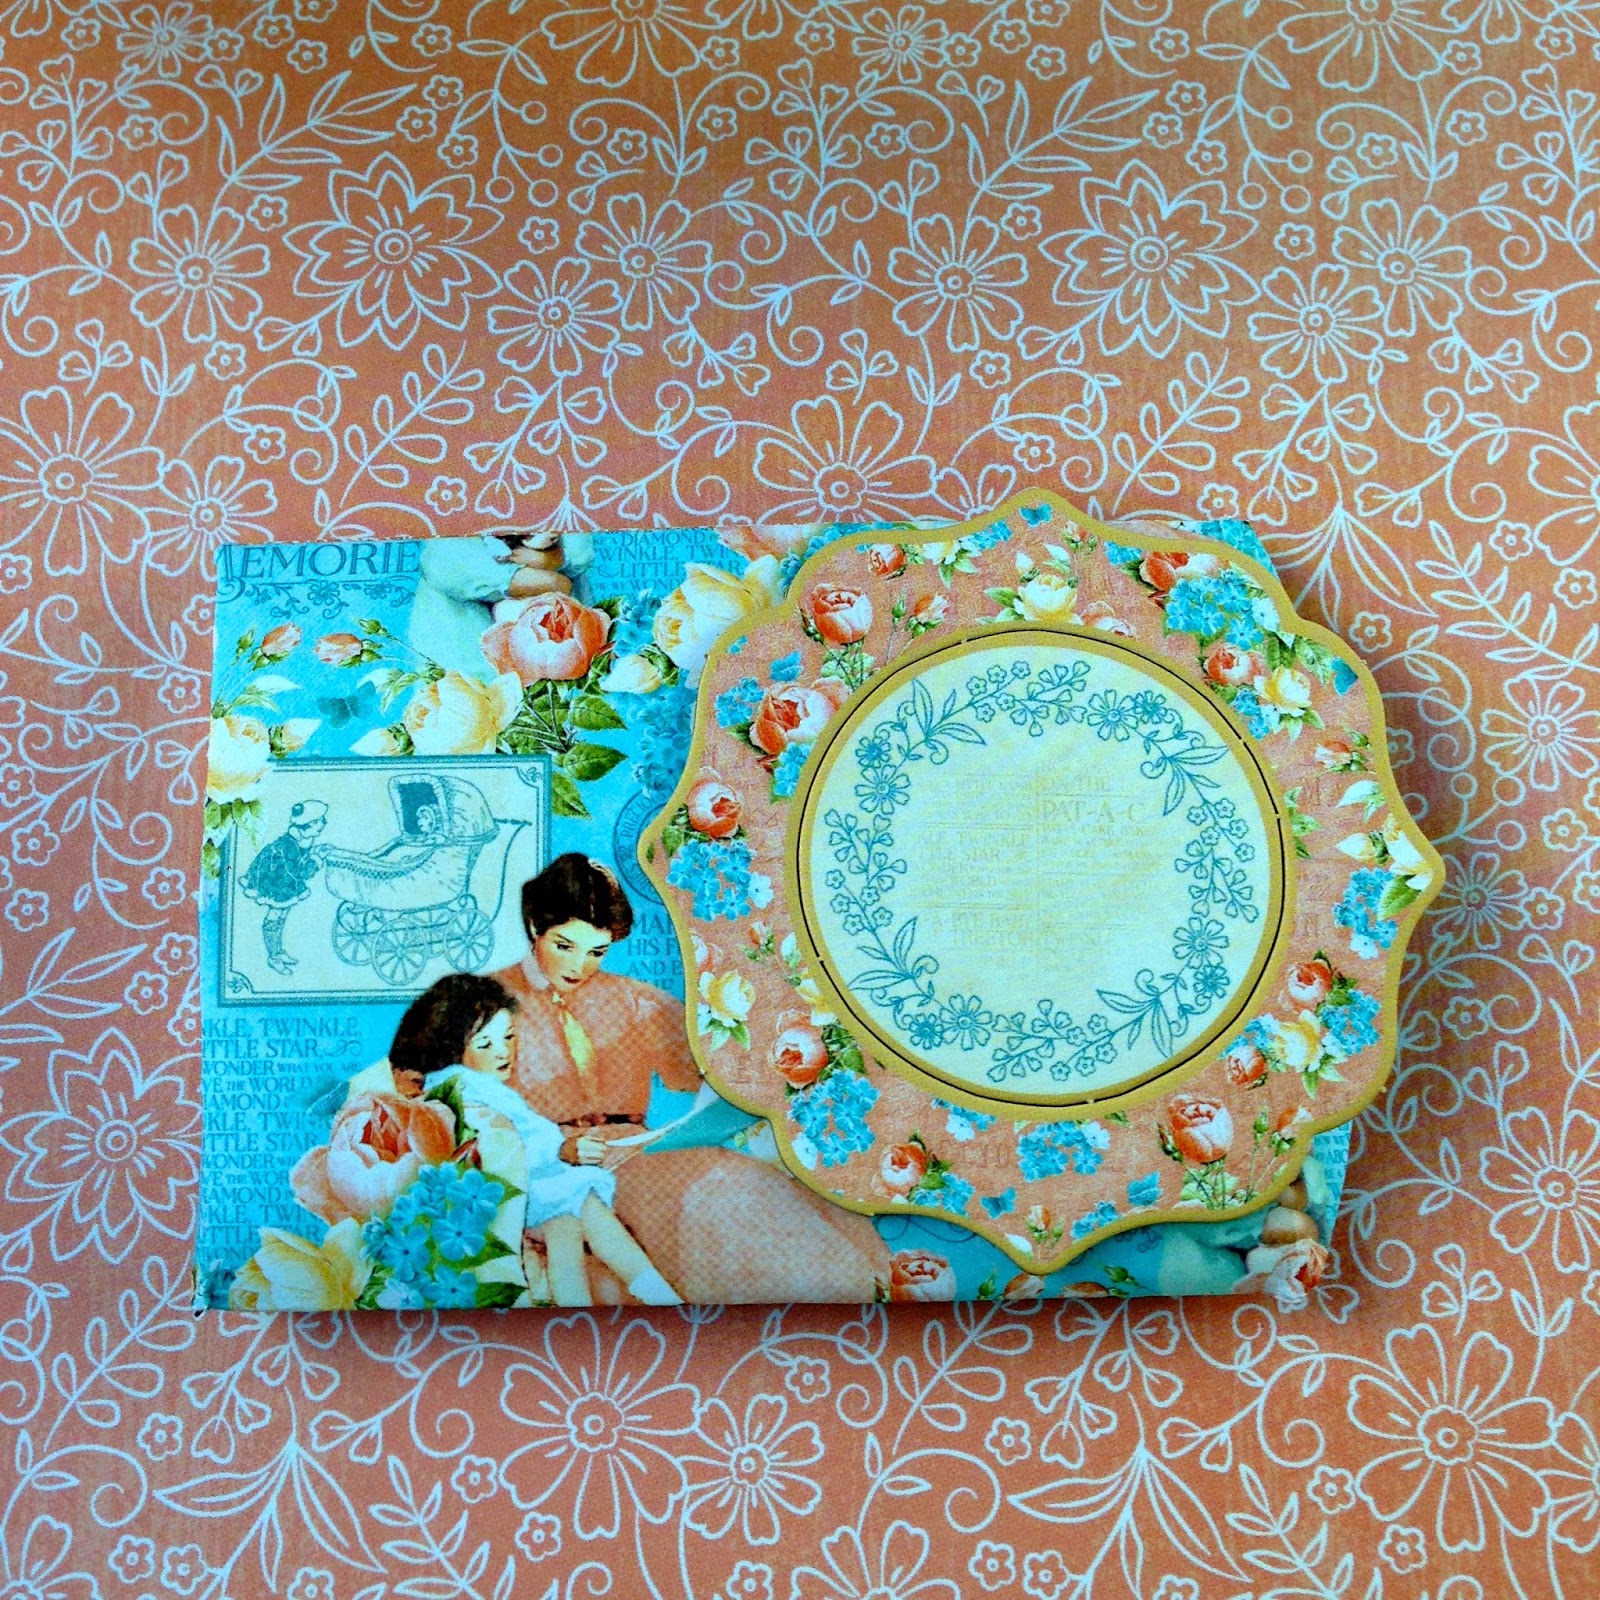
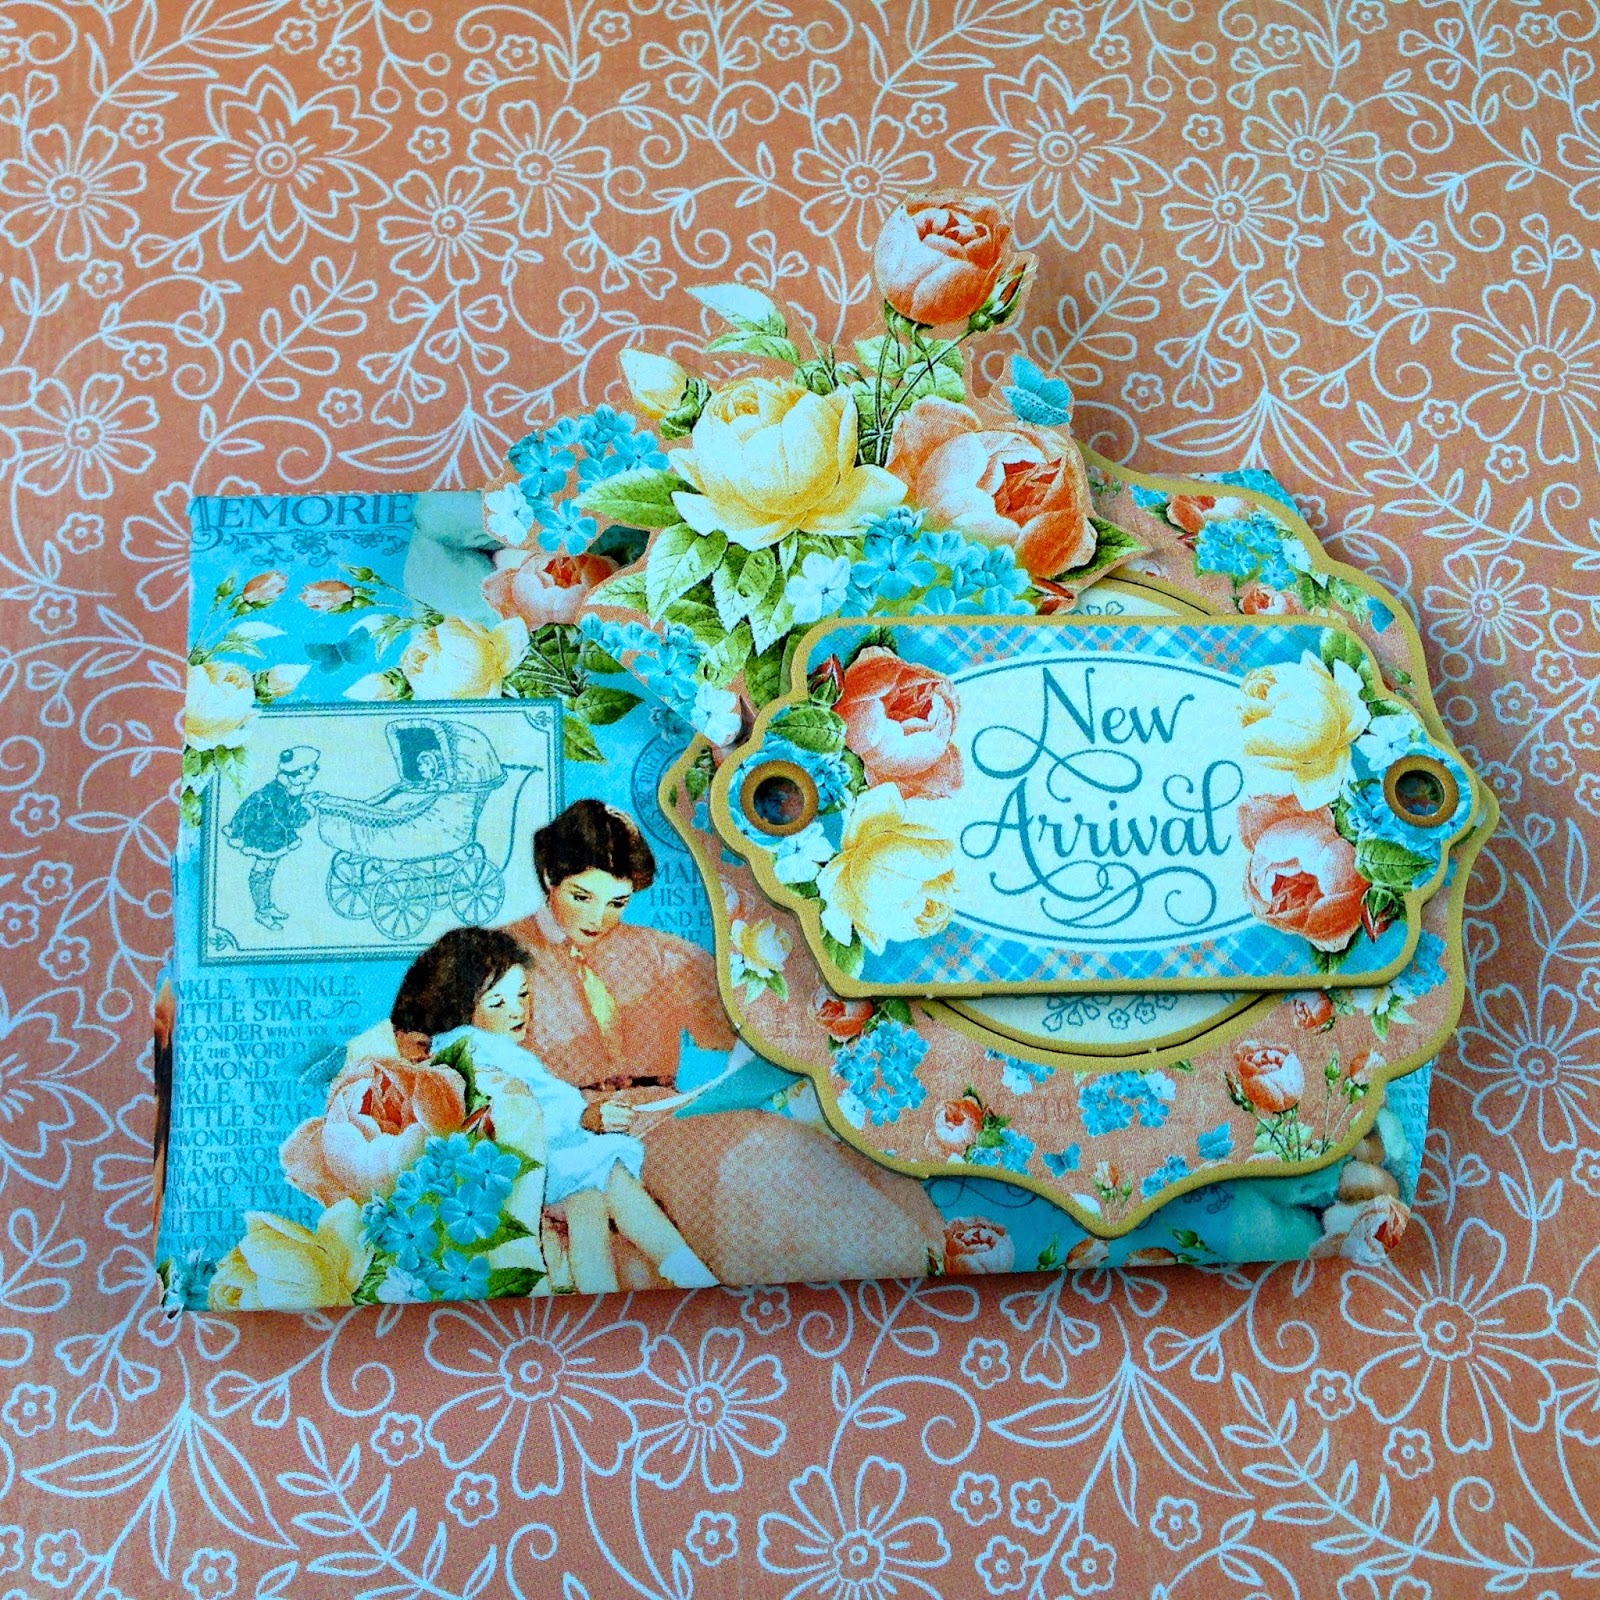
Welcome to the blog today!  For the FotoBella's design team, one of my recent tutorial projects was using Graphic 45 Precious Memories I Want It All Bundle to make a pillow box.  

      Supplies Needed:
  • Pillow Box template from Graphic 45 paper pad
  • Cherish 8x8 paper
  • Baby's Breath 8x8 paper
  • Precious Memories Chipboard Journaling & Decorative
  • (1) Pearl Brad
  • Graphic 45 Cream Sheer Ribbon
  • Graphic 45 Dark Blue Sheer Ribbon
  • Diamond Stickles
  • Scissors
  • Glue


Let's get started!

Step 1:  Go to the back page of the 8x8 paper pad to find the pillow box template and cut it out.


2.  Choose the Cherish 8x8 paper and trace the template on to it.


3.  Cut out the template, score and fold it according to the lines on the template.


4.  Apply glue to the tabs that are folded in, leaving one end of the pillow box so that it opens.


5.  To embellish the front of the pillow box, select this chipboard design and glue to the front of the pillow box.


6.  Select the "New Arrival" Chipboard piece and glue it on top of the previous chipboard piece.


7.  Select the Baby's Breath 8x8 paper and fussy cut two bunch of flowers to tuck behind the chipboard.


8.  Add a pearl brad to the left end side of the "New Arrival" chipboard piece.


9.  Select the two pieces of ribbon and layer them, feed them through the hole on the right hand side of the "New Arrival" chipboard and tie a bow.  


10.  Add Stickles to some of the flowers to make them sparkle.


And here you are, with a beautiful pillow box ready to be filled with something fabulous!  

Thanks for stopping by today and hope you have fun making your own pillow box.  Find the complete collection of Graphic 45 Precious Memories at FotoBella.com

Have a fabulous day!