Showing posts with label Bo Bunny Serenade. Show all posts

Thursday, December 27, 2012

Simply Beautiful with Bo Bunny Serenade

I hope everyone had a wonderful Christmas.  Today I am sharing my Design Team project with Fotobella.  This layout was made with the BEAUTIFUL Bo Bunny Serenade-I Want It All Collection found at fotobella.com.


Supplies:


· Paper: Cutouts (Side B), Dragonfly (Side B), Stripe (Side B), Garden (Side B), Poppies

· Combo Sticker Sheet, Brads, Petals

· Xmas Red Stickles

· Gold Stickles

· Pop Dots

· Dark Red Ribbon

· Black Ink
Photo Sizes:
· 5”x7” Portrait

Tools:

· Lucky 8 Classic Wreath Punch (also sold at Fotobella)

· Circle Cutter

· Stapler

· Paper Trimmer

· Paper Piercer


2. Choose the following paper: Cutouts (Side B), Dragonfly (Side B), Stripe (Side B), Garden (Side B), Poppies.
3. Select the Dragonfly Paper and measure and mark it at 9”x9”.


4. Trim the paper down to 9”x9”.

5. Using the Lucky 8 punch Classic Wreath. Set the cut settings to “on” for the Outer Cut and the Inner Cut.
6. With the red side of the paper facing up, begin punching all four corners.


9. Ink the edges of the shape with black ink.
                       
                             
10. Select the Cutouts Paper Side B and your circle cutter tool.
                            
11. Cut out a circle that is 6” in diameter.
           

12. Matte your photo in white cardstock, matte with Poppies paper and then matte a third time with Garden Paper Side B. Place the photo on top of the Circle as shown.
                                 
13. Select a dark red ribbon and gather three loops together. Use a staple to secure the loops at the base (where my thumb is holding the ribbon). Do not cut the ribbon tails.
14. You will want to leave the ribbon long enough to place the Simply Beautiful Sticker on top with two ribbon tails showing on the left of the sticker.

15. Using pop dots, adhere the Simply Beautiful Sticker to the bottom left hand corner of your matted photo.
16. Select a small red and yellow flower, layer and attach with a brad. Using a glue dot, adhere the flower embellishment so that it covers the small red flower to the left of the word “simply” on the sticker.


17. Select the sticker that says “Cherished Memories” from the 12x12 sticker sheet. Using pop dots adhere the sticker to the top right had corner of the matted photo. Select a small black and red flower, layer and secure with a brad.


18. Embellish the layout with Xmas red and gold Stickles.


Hope you enjoy this beautiful layout you just made!

Have a very Happy New Year!


Saturday, December 22, 2012

Handmade Gifts with Bo Bunny Serenade Collection

What's the big question that you get asked everywhere you go this time of year?  "Are you ready for Christmas?"  Well....are you?!?  Yikes it's only a few days away.... 

If you are looking for some last minute ideas for that perfect gift, something homeade and from the heart, well then you have come to the right blog!  I am featuring two projects for the Fotobella Design Team made with Bo Bunny's Serenade Collection that would make great gifts.  This collection can be found at Fotobella.com and you can get the complete collection by selecting the "I Want It All" Bundle. 

My first project is a beautiful bookmark, perfect for those avid readers I know!


I really loved this quote so I chose to place it at the top of the bookmark.I   wanted to place the quote sticker without interfering with the beautiful dragonfly.  I did that by cutting along the body of the dragon fly and the top edge of the wing on the right side with anXacto knife.  Then I slipped the 2 bottom corners of the sticker behind the slits.  I embellished it with gold stickles along the edge and a chipboard flower sticker.  I added a yellow rhinestone to the center of the flower. 

 
I love the earthy colors of this paper but I did want to add a little bling to it…I couldn’t help it!  So I used green stickles along the edges of the winds and embellished the body of the dragonfly with Icicles Stickles to give it some shine.  It worked perfectly.Just enough sparkle.


My second project is a Recipe Mini Album. Besides scrapbooking all the time, I also enjoy cooking and baking. I often receive requests for my recipes…and to be honest, I’m terrible at sharing them! I thought I could create this mini album and tuck a few of my most requested recipes and gift it to those who are always asking for them J


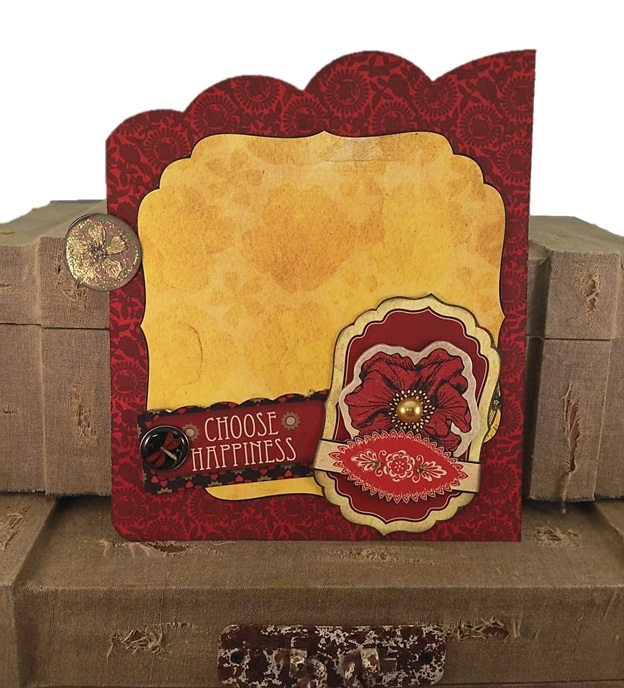
One of the sticker sheets in this bundle is all a cooking theme, which was perfect for this recipe book. For the cover I combined stickers, flowers, brads, chipboard sitkcers, rhinestones, trinkets and ribbon.
 

I made every page a different shape by experimenting with my Lucky 8 punches (also found at Fotobella.com) 


Hope this inspires you to make some creative handmade and heartfelt gifts of your own this holiday season!

Happy Holidays!